It's easier if the neck is thicker than you need, because you can just easily sand it. But if the neck is too thin for your head, it also comes with poseability issues. Believe me, I've dealt with these issues a lot.
But! There is a relatively easy solution, and here is a small tutorial on how to do it. Do-it-yourself neck donut, customized to fit perfectly. It helps with posing and makes your hybrid look less awkward. :D

List of what you need:
- A doll, obviously.
- Milliput (Superfine White), or other air-drying epoxy. I guess you could also use Fimo or others, but I'm not sure if those can be sanded. And it's always easier if you don't need to bake anything.
- Masking tape / painter's tape
- Plastic wrap (optional)
- Sculpting tools (optional)
- Exacto knife
- Sanding paper (various grits; I used mainly 600 and 360)
- Water
That is pretty much it.
1. PROTECTING THE HEAD

Here's my beautiful (test) subject, LittleRebel Jelle! The body is a Souldoll Zenith body, which has a 8cm neck if I remember correctly - way too thin for this head, even though it does work somehow.
This doll is moving to another home, so I wanted to protect this the best I could, so there wouldn't be Milliput all over her face up. I used plastic wrap and masking tape to do this!


So much tape... I really wanted to make sure the head was safe, so I just covered everything I could. I used two pieces of plastic wrap, and made sure it wasn't on too tight around the eyes, as I didn't want the eyelashes to get damaged.


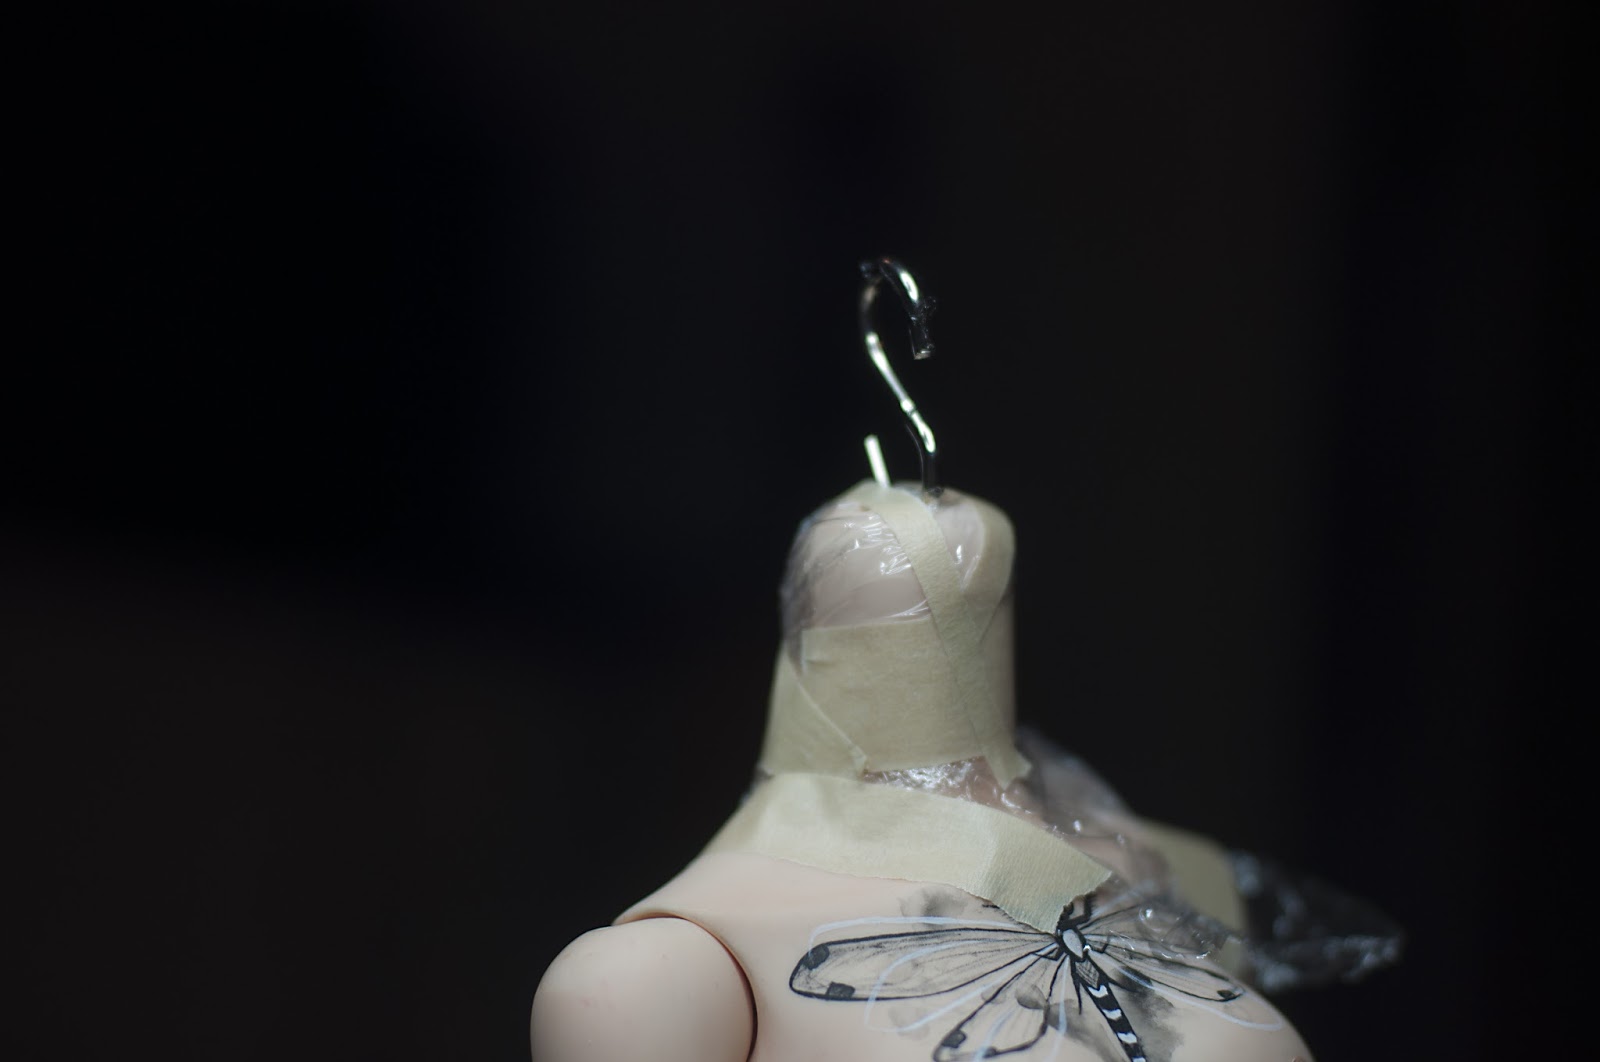
The final result. Also I protected the neck, in case I wanted to fit the head on it in the middle of sculpting. On to the next stage!
2. MIXING THE MILLIPUT
 |
| Here are also my sculpting tools - ended up only using three of the darker brown ones. |

Milliput comes in two different coloured plastic bags. You have to cut identical amounts of both and mix it together. If the ratio is off, it won't cure. But I have used this stuff for a dozen times and have had no issues, so don't be too nervous.

Here's the amount I went with, this is both parts combined. After this, I just kneaded, rolled, twisted and mixed the Milliput until it was warm, soft and smooth.

Like this! This is actually only a half of what I initially thought I'd need to use - I quickly realized that the amount was too much. But no worries! I'll just make another neck donut for my own doll. :D
3. SCULPTING
I couldn't take much pictures at this stage because my hands were in Milliput all the time and I didn't want to get my camera dirty. Sorry!

Basically I just kneaded the Milliput into a donut shape and then started pressing it into the neck hole with my fingers. On the background you can see the leftovers; I really did take too much Milliput for just one neck piece.

Then I just used my fingers and my sculpting tools to make the neck donut fit into the neck hole as well as I can. I spread it pretty thin nearer the edges. Use water at the sculpting stage. I dipped my tools and my fingers in it if the Milliput felt too hard to smooth without moisture.

That's it! I was satisfied with the shape, so lastly I dipped my finger in water and smoothed the surface with it.
3.1 FITTING (optional)
I decided to pop on the head to see if the s-hook goes through the hole I made.


It did. :D I actually did this before smoothing out the the Milliput, but this is an optional stage so I'll put it here, haha. This is in no way necessary, but as it was my first time making a neck donut, I wanted to try. Also if I didn't, I would have protected the neck of the body all for nothing, lol.
3.2 SCULPT ANOTHER NECK DONUT BECAUSE YOU'RE A DOOF AND GOT THE WRONG AMOUNT OF IT THE FIRST TIME AROUND (optional)
So, my other test subject was my Soom Heliot. He has a Dollzone body, and I think there's about 0.5 cm difference there. Or maybe a full 1cm. Anyway, it doesn't really interfere with his posing, but I didn't want to waste this Milliput, and thought I'd try anyway. XD

Because I am not as careful with my own dolls, I just lazily used masking tape only, and just made sure my Milliput-stained fingers wouldn't touch his face. XD Using only masking tape for the neck hole actually resulted in a cleaner looking neck donut. You'll see this in a later stage.

TA-DAH! Good enough for me. :D
4. CURING

Here's both of the test subjects, waiting for the Milliput to dry enough. I left the neck donuts to dry inside the neck holes for a few hours, because I felt that if I took them out before the epoxy hardened, they'd lose their shape. So I only did this later on (around 3 hours later), carefully prying the neck donuts out. I'm sorry I have no pictures of this stage, I forgot to take any. I also cleaned all the masking tape and plastic wrap away at this stage.
The Milliput had not cured completely, but was still a little sticky. Yet it was hard enough not to break when I carefully lifted from the neck hole. I left the pieces to cure next to each other on the table.
5. CLEANING
This stage I did the next day, when I could be sure that the Milliput had been cured and hardened completely.

There they are! My lovely heads and their neck donuts. And the tool that will come very useful in a moment. :D

That's how they looked like before I started cleaning the shapes. Very rough, and the one on the left (for LR Jelle) had a pretty big creases in it from the plastic wrap. The other one was cleaner, the masking tape did leave some marks but not as big ones. But the looks don't matter in this case - the pieces will be inside the neck where no one can see how ugly they are. XD

I used the exacto knife to clean all the edges. And I used protection! XD Masking tape around my thumb helps me not to murder my fingers at this stage - because that blade is VERY sharp. Be careful with it!


Roughly cleaned pieces inside the neck holes. :) Later on I had to carve the hole on the one I made for Heliot, as the s-hook wouldn't go through it. This happens when you skip the fitting part, haha.
6. SANDING
Woo...hoo... I love sanding... so much... >_>

Some sand papers I thought might be good for this project. Didn't use the P1000 though, as I was lazy and in my opinion the neck piece didn't need to be that smooth anyway.


Sanded pieces! Not the prettiest but good enough. I used P360 for overall sanding and especially the edges, and then P600 for the part of the donut that rests against the neck. I wet-sanded, you can see my plastic box that was full of water in the pictures. I just dipped either the piece or the sand paper in the water and then just sanded.
Sanding is easy, but I hate it so much. XD
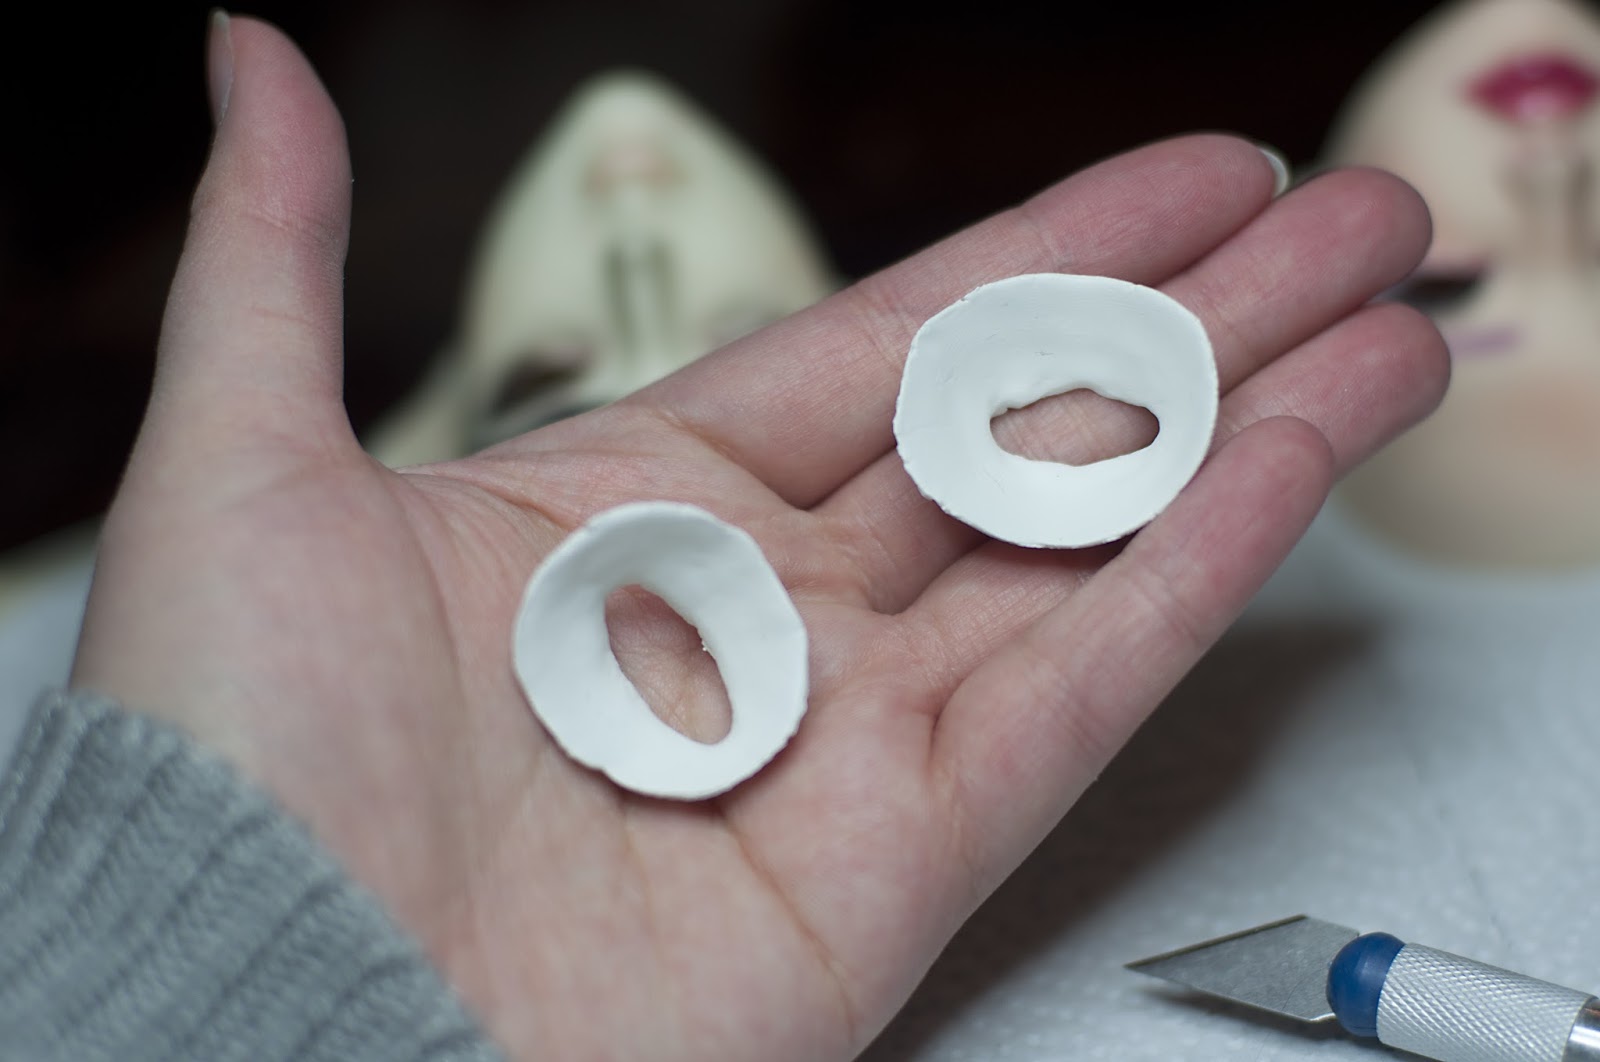
Anyway, ta-dah! We have finished some neck donuts! Of course, you can make yours a lot prettier. XD
7. TESTING & BEFORE - AFTER PICTURES
My favourite stage is when everything is ready and you can start testing. ;D

Here's what the neck piece looks on the neck. I wouldn't rest the s-hook on the piece though, not sure if it can handle that. I just put the head on the piece and then pull the s-hook to the head.


I hope you can see the difference! Before her neck looked a tad too short, and for example she couldn't look up at all. But now she can! I think she looks more elegant now, and she is definitely easier to handle now. ♥ Her head also tilts easier. Nice job, me! :D
Now I just hope her new owner approves of this. I can't wait to ship her to her new home soon ♥ So happy that the new owner also wanted to keep all the modifications and styling I did on her. *__*
ANYWAY, that is it! I hope this was helpful at least to someone. Please post questions if you have any! ♥ This was my first tutorial so it wasn't the best, but I hope it is still useful.
Love,
Asileh Backwards
Asileh Backwards
PS. I'm sorry that the pictures are a little grey, I used jpeg formatting rather than my usual png this time.
Thank you for this tutorial dear! I really need to make one of these. I'd be curious to see the before and after photos for Aed as well!
ReplyDeleteWanted to let you know I did a link back for this article! Here: http://eof.cloverpetals.com/feature-ab-aeterno-aesthetics-diy-neck-donut/ Really well done, even 2 years later!
ReplyDelete